
Complete Setup Guide for Salesforce Marketing on Core (growth + advance) Part 2

Step 3: Setup Data Cloud
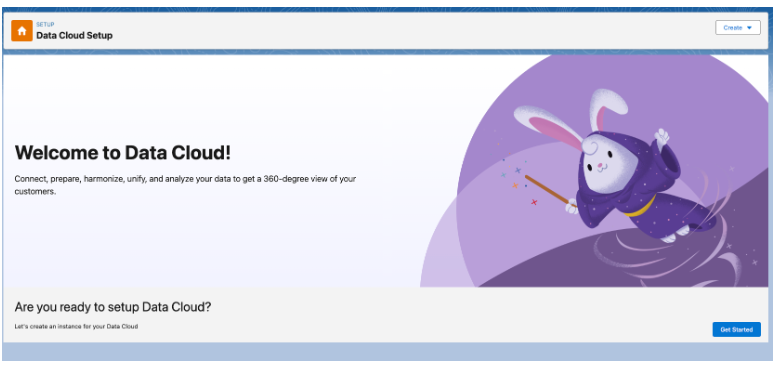
Step 1: Navigate to Data Cloud Setup
Step 2: Click “Get Started”

Step 3: While the setup is taking place, you’ll see ✅ checkboxes to indicate progress…

Step 4: When Data Cloud is completed, you’ll see that all steps are checked ✅ and the “Tenant Specific Endpoint” is now present.

Step 4: Create the Data Cloud “Salesforce CRM” Connector
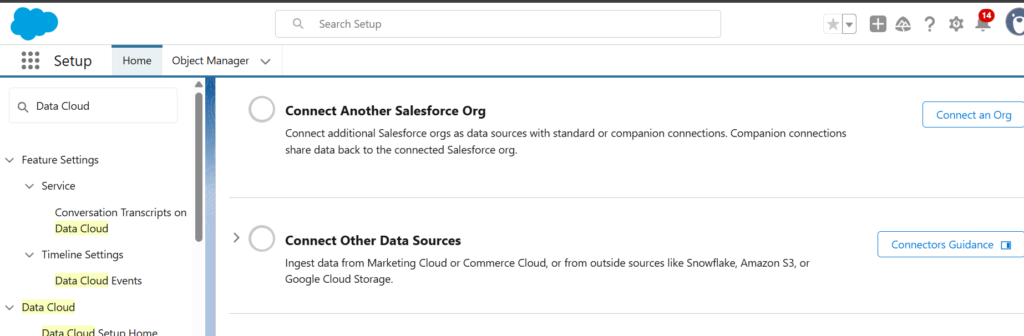
Step 1: Navigate to the ⚙️ Setup to search ‘Data Cloud’

OR
OR

Step 2: Next, click the 🔽 next to “Sales Cloud” (under “Standard Data Bundles”) and select “Install”

Step 3: Select “Install for All Users” and select the the “Install” button.

After installing, you will get a confirmation email (saying “Package Sales Cloud Install Successful”) and a confirmation page.
Click “Done”
Similarly install all other data bundles.

Step 5: Set up Data Stream in Data Cloud
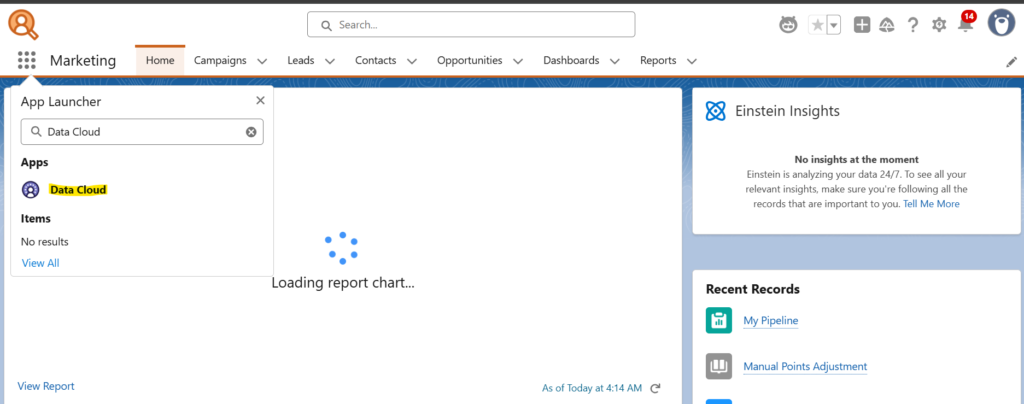
Step 1: From App Selector and select the “Data Cloud” App
Step 2: Select “Data Streams” Tab

Step 3: Click on “New”
Step 4: Select Salesforce CRM and click Next

Step 5: Select “Sales” and then click “Next”

Step 6: Can leave all the default selections > click “Next”

Step 7: Click “Deploy”

Step 7: Wait for a moment and You will see the below screen.


Next: Complete Setup Guide for Salesforce Marketing on Core (growth + advance) Part 3
Previous: Complete Setup Guide for Salesforce Marketing on Core (growth + advance) Part 1
🔹 Need help optimizing your SFMC campaigns? Contact us today!
Want more insights like this? Subscribe to our newsletter and receive actionable marketing strategies, case studies, and expert tips directly in your inbox. Let’s scale your business together, one strategy at a time!